


We’ve all been there- you decide to give your beloved car a fresh coat of paint, but despite your best efforts, it doesn’t turn out as planned. Perhaps there are streaks, uneven tones, or even minor scratches that have turned your DIY project into a bit of a disaster.
But fear not, because paint correction can fix this. In this guide, we’ll walk you through the steps of paint correction, helping turn those paint woes into glossy, shining wins.
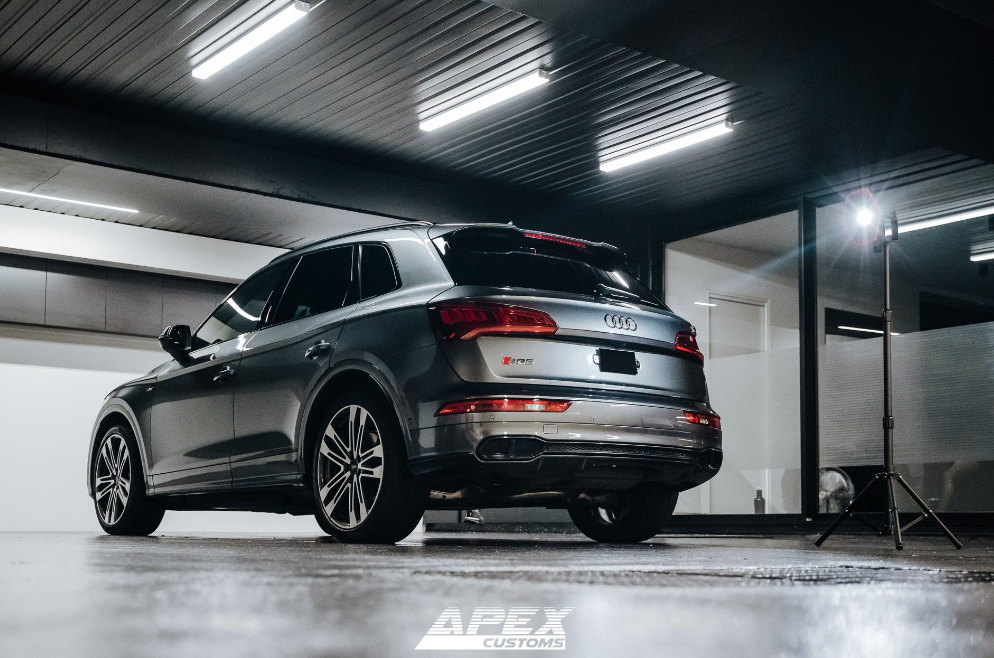
What is Paint Correction?
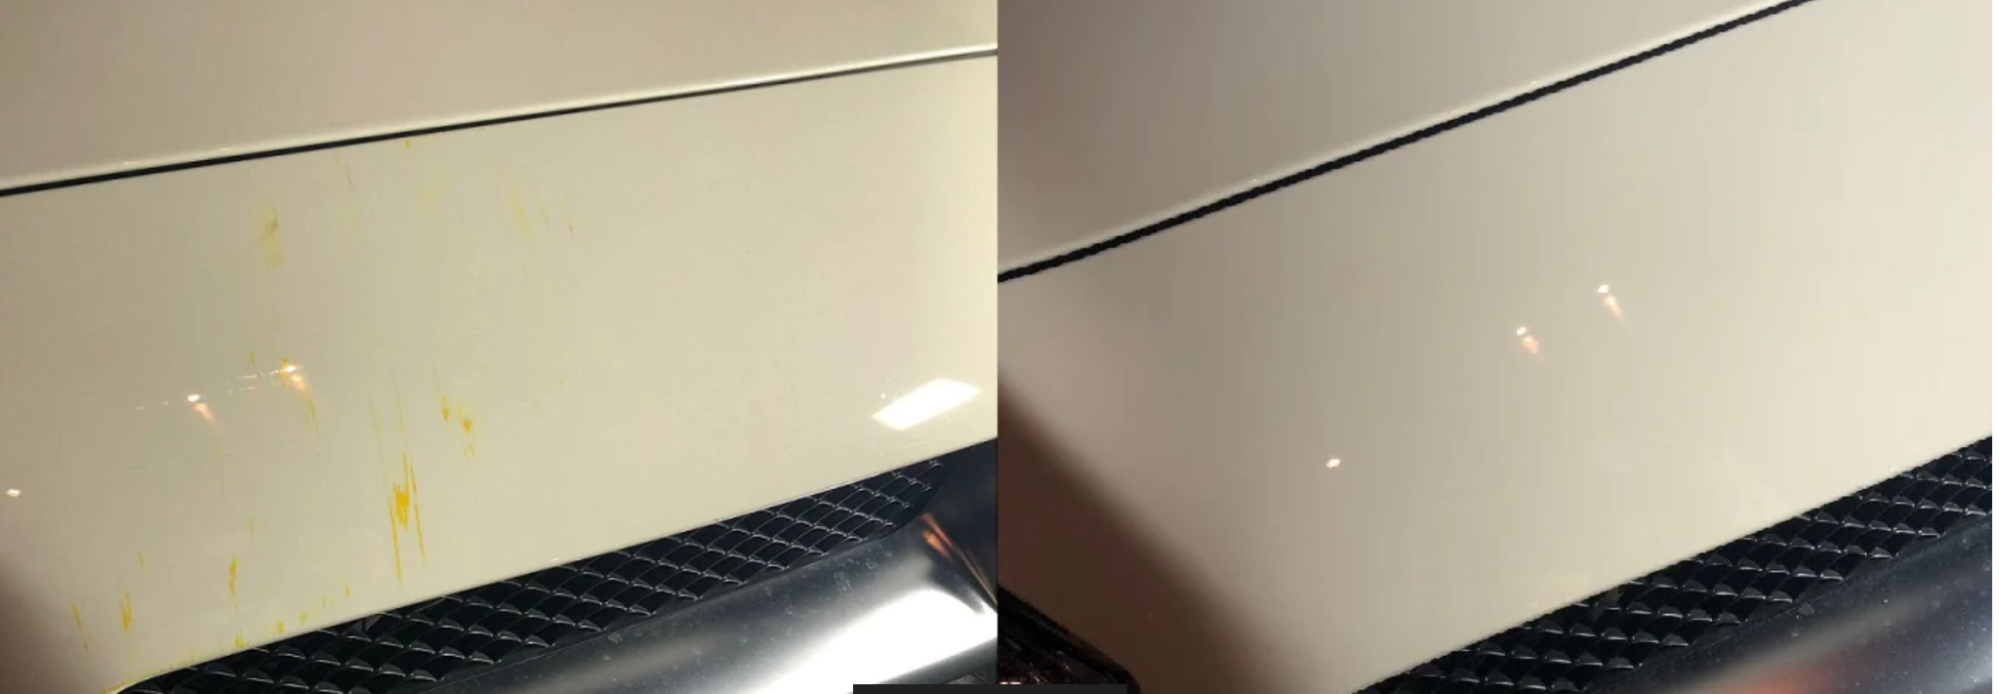
Paint correction refers to the process of rectifying imperfections in your car’s paint job. From swirl marks to stains and etchings, it addresses a range of issues that can hinder the aesthetics of your vehicle.
The Importance of Maintaining Your Car’s Paint
Maintaining the vibrancy and gloss of your car’s paint is not just about aesthetics; it is also about preserving its value and ensuring longevity. A well-maintained car paint can prevent rusting and other forms of damage, thereby securing your investment for the long run.
The Levels of Paint Correction
Light Correction: For Minor Blemishes
At this level, the focus is on addressing minor imperfections such as tiny scratches and swirl marks, generally through polishing or using a clay bar treatment.
Medium Correction: Addressing Moderate Issues
Here, we tackle more pronounced issues, such as deeper scratches and oxidation. This might involve more intensive polishing and possibly wet-sanding in some areas.
Heavy Correction: Tackling Serious Paint Problems
For cars with significant paint damage, including deep scratches, severe oxidation, and paint chipping, a heavy correction is necessary, often involving more advanced techniques and professional-level tools.
DIY or Professional Help: Making the Right Choice
Evaluating the Extent of Paint Damage
Understanding the severity of the paint damage is the first step in deciding whether to take the DIY route or consult a professional. Use this guide to assess the level of correction required.
Comparison: DIY Vs Professional Paint Correction
| Aspect | DIY Approach (Light Correction) | Professional Approach (Light Correction) | DIY Approach (Medium Correction) | Professional Approach (Medium Correction) |
| Suitability | Ideal for beginners with minor blemishes | Suitable for those looking for a flawless finish | Suitable for those with some experience | Ideal for cars with significant but not deep damages |
| Cost | Low ($) | Moderate ($$) | Moderate ($$) | High ($$$) |
| Time Investment | 1-2 hours | 3-5 hours | 3-5 hours | 5-8 hours |
| Tools & Products Required/Used | Basic tools such as clay bars and polish | Professional-grade tools and products | Basic to Intermediate tools and products | Professional-grade tools and products with specialized techniques |
| Outcome Expectation | Moderate improvement | High-quality, near-perfect results | Significant improvement | Near showroom condition |
Pros and Cons of DIY Paint Correction
Embarking on a DIY paint correction project can be rewarding but also comes with its set of challenges. We explore the benefits and downsides here.
Pros:
- Cost-Effective: Saves money as you’re not paying for labour costs.
- Personal Satisfaction: A sense of accomplishment when you see the results of your hard work.
- Customization: Allows you to focus on areas you find most important.
- Convenience: You can choose to correct the paint at a time that suits you best.
Cons:
- Time-Consuming: Can be more time-consuming, especially if you are new to the process.
- Potential for Mistakes: Higher chance of making errors compared to professionals.
- Limited Tools and Equipment: May not have access to high-end tools and products used by professionals.
- Lesser Quality Results: May not achieve the same level of perfection as a professional service, particularly for deep scratches and damages.
When to Call in the Professionals
Sometimes, the best approach is to trust the experts. Paint correction can often be a complex process requiring a particular skill set and tools. Here we outline the situations when it’s more prudent to call in the professionals to handle your paint correction needs.
Deep Scratches and Swirl Marks:
- Example 1: Your car has been in a minor accident, leaving deep scratches that penetrate the clear coat.
- Example 2: Constant exposure to harsh elements has caused severe swirl marks that mar the car’s appearance.
Complex Paint Jobs:
- Example 1: Your vehicle has a custom paint job with multiple layers or specialty finishes that require expert attention.
- Example 2: The car has vintage or rare paint that needs preservation and specialised care.
Lack of Necessary Time and Tools:
- Example 1: You don’t own high-quality polishing machines and don’t want to invest in them for a one-off project. You may not have the time or space in your garage to carry out the project.
Insufficient Experience:
- Example 1: You’ve tried to fix minor scratches before but weren’t satisfied with the results, indicating a need for a professional touch.
Remember, professionals not only bring experience but also have access to industrial-grade products and tools that can restore your car to its pristine condition.
Finding a Trusted Service Provider
Finding a reliable professional is half the battle won. Get tips on selecting the best service provider for paint correction here.
Consider the following factors:
- Experience: Ensure the provider has a proven track record in paint correction.
- Reviews and Recommendations: Seek recommendations from trusted friends or authorities and read online reviews on Google or social media.
- Insurance: Verify that the provider is insured to avoid liabilities in case of accidents.
That said, if you’re up to give it a go on your own, read on to find out how to get started.
Getting Started with DIY Paint Correction
Before you start with the actual correction process, it’s essential to clean your car thoroughly to remove any dirt or debris. Ensure you have a clean workspace and gather all necessary tools and products beforehand.
Understanding the Basic Tools and Products
To start, get acquainted with the essential tools and products needed for a successful DIY paint correction.
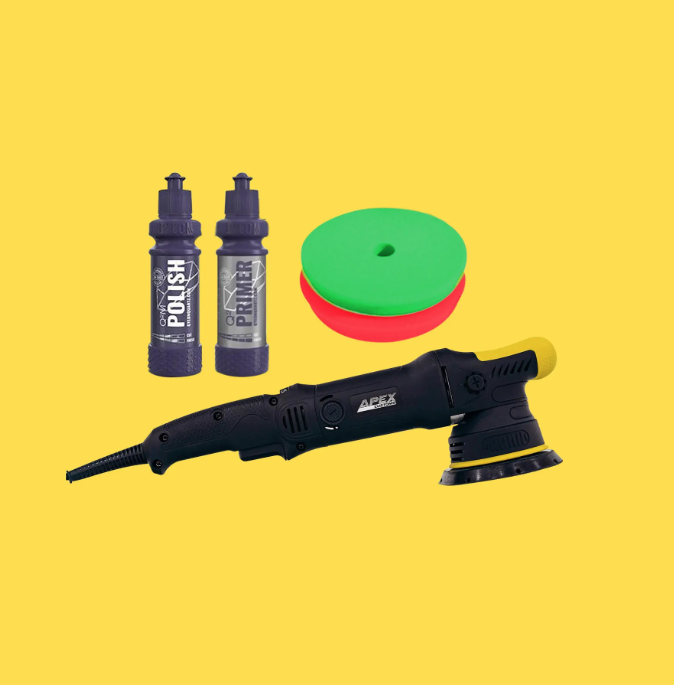
At a minimum, you will need:
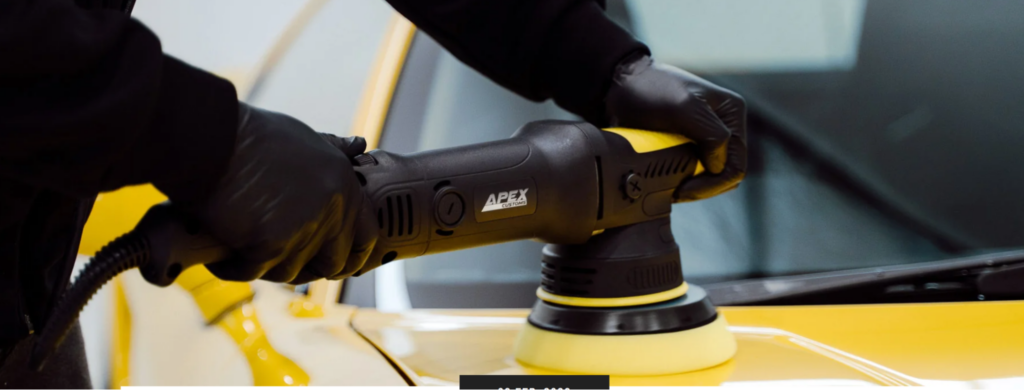
- Polishing Machine: Electric polishers are vital for achieving even results.
- Compounds and Polishes: Depending on the severity of the paint defects, you may need a range of products with varying levels of abrasiveness.
- Microfiber Towels: For wiping off residues and buffing surfaces.
- Detailing Brushes: Useful for cleaning hard-to-reach areas.
Our recommended list of tools:
- Apex Customs DA Polisher
- Cutting/Polishing Compounds
- Finishing Compounds
- Apex Customs Buffing Pads
- AmazeBuff Microfibre Polish Towel
- Masking Tape
- Paint Gauge (Optional)
- Detailing Lights (Optional)
- Nitrile Gloves (Optional)
Step-by-Step Guide to DIY Paint Correction
From selecting the right products to following the correct techniques, this section provides a detailed walkthrough of the DIY paint correction process.
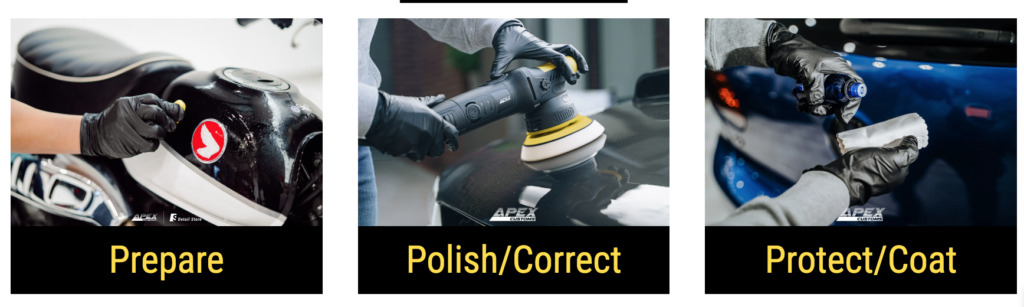
To ensure a smooth process, follow these basic steps:
- Preparation: Clean the surface thoroughly and tape off sensitive areas.
- Testing: Before starting, do a test spot to choose the right combination of pad and polish.
- Polishing: Start polishing using a suitable compound, followed by finer polishes to remove swirls and scratches.
- Finishing: Apply a finishing polish for a glossy shine and future protection.
Tips to Achieve the Best Results
Get pro tips to achieve flawless results, even as a beginner. Some general advice includes:
- Working in Small Sections: To maintain control and attention to detail.
- Using the Right Pressure: Avoid pressing too hard to prevent paint damage.
- Inspecting Your Work: Frequently check your progress to make necessary adjustments.
Common Mistakes and How to Avoid Them
Avoiding common pitfalls is crucial for a successful paint correction project. Learn about the typical mistakes and how to prevent them in this section. Key mistakes to avoid include:
- Skipping the Cleaning Phase: Always start with a clean car to avoid introducing more scratches.
- Using Dirty Towels or Pads: Clean towels and pads prevent swirl marks and scratches.
Aftercare: Maintaining the Gloss and Shine
Once the correction is done, maintaining the gloss is vital. Learn about the aftercare practices to keep your car shining for a long time. Here are a few practices:
- Regular Washing: Keep the car clean to prevent build-up of dirt and contaminants.
- Using Quality Wax or Sealant: Protect the paint by applying a quality wax or sealant periodically.
- Gentle Handling: Avoid harsh brushes or high-pressure washing to prevent new scratches.
Conclusion
No one likes seeing their prized car lose its lustre. But this isn’t the end of the road – far from it. This guide has given you the nuts and bolts to either roll your sleeves up and get stuck into some DIY, or find a pro who knows their stuff.
Either way, getting your car back to its glossy best is completely doable. All the best!