


In the ever-evolving world of car detailing, ceramic coating has emerged as a staple for car enthusiasts. But can you really achieve professional-level results from home?
Applying a ceramic coating yourself not only proves to be cost-effective but also brings the satisfaction of achieving that glossy finish in the comfort of your garage.
Whether you’re a seasoned detailer or just starting out, this guide will walk you through how to apply a ceramic coating like a true professional.
Understanding Car Ceramic Coating
What is a Car Ceramic Coating?
A ceramic coating is a liquid polymer that chemically bonds with your vehicle’s factory paint, creating a layer of protection and a glossy shine. It offers a longer-lasting solution than traditional waxes, shielding your car from UV rays, bird droppings, and grime from daily commutes.
Benefits of Applying a Ceramic Coating
Besides adding a brilliant shine to your car, ceramic coatings make cleaning a breeze, provide protection against swirl marks and chemical stains, and enhance the paint’s longevity.
Ready to give it a go? Let’s dive into preparing your workspace for this project.
Preparing Your Workspace
Choosing a Suitable Environment
To start with, choose a well-ventilated, dust-free environment to avoid contaminants messing with your fresh coat. Your garage would be an ideal location.
Necessary Tools and Materials
Before you get started, gather all necessary tools and materials. Here’s what you’ll need:
- Ceramic coating solution
- Microfibre cloths
- Car wash soap
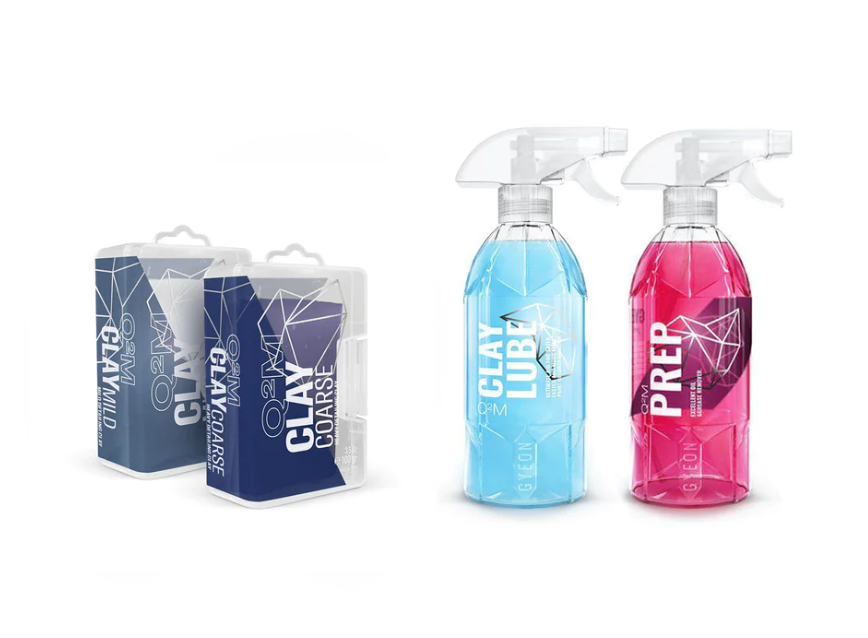
- Clay bar
- Polish and polishing pads
For an extensive selection of detailing products, be sure to check our online store, where we house everything you need for a perfect DIY ceramic coating job.
Preparing the Car
Before applying the ceramic coating, it is essential to clean and decontaminate the surface thoroughly. A two-bucket method wash (use one for clean soapy water and another to rinse off the dirt from the mitt) followed by clay bar treatment will ensure a smooth canvas for your coating.
Getting Your Car Ready
Washing the Car Properly
Start with a thorough wash using a high-quality car wash soap to remove dirt and grime. Make sure to dry the car completely before moving to the next step.
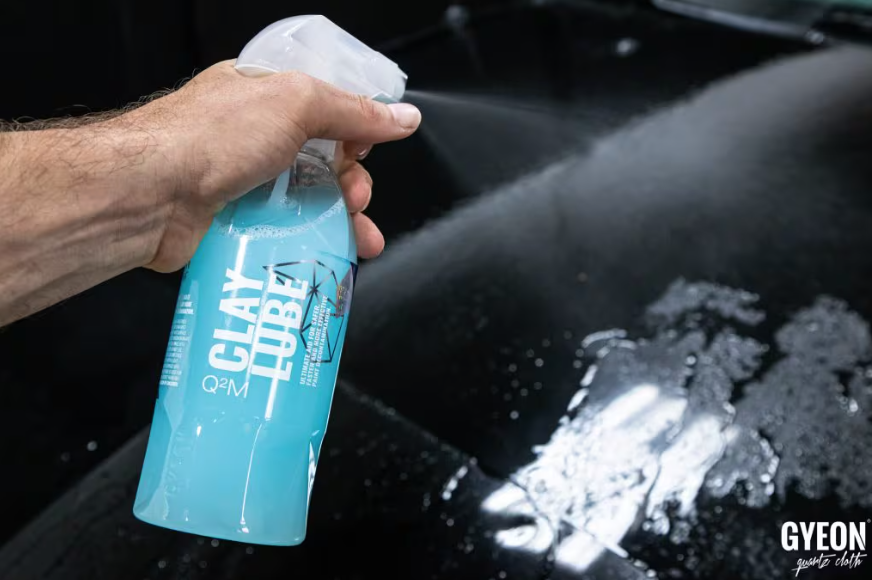
Clay Barring for a Smooth Surface
Using a clay bar, remove any embedded contaminants from the paint surface that washing couldn’t remove, ensuring a smooth base for the ceramic coating.
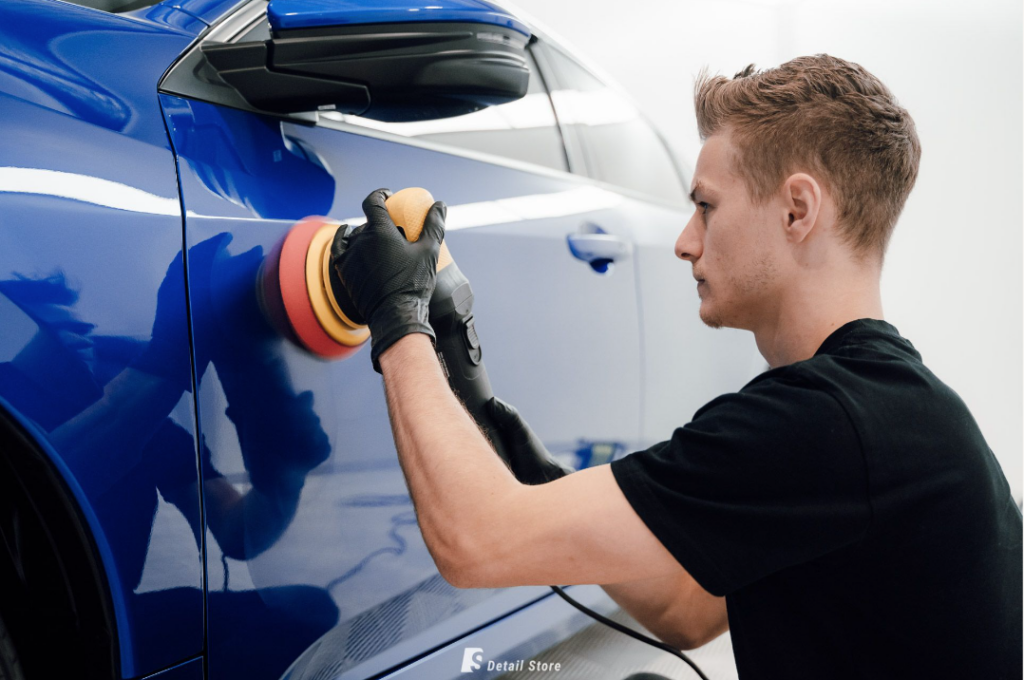
Polishing the Surface
Next, it’s time to polish the surface to remove minor scratches and swirl marks, enhancing the paint’s gloss before the ceramic coating application.
The Application Process
The Test Spot
Before you start, apply the coating to a small test spot to determine the right amount and technique. This step helps avoid mistakes during the full-scale application.
Step-by-Step Guide to Applying the Ceramic Coating
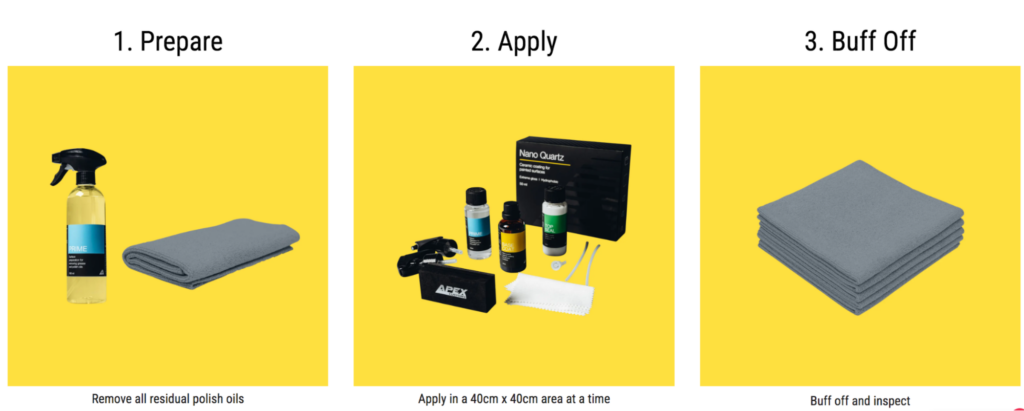
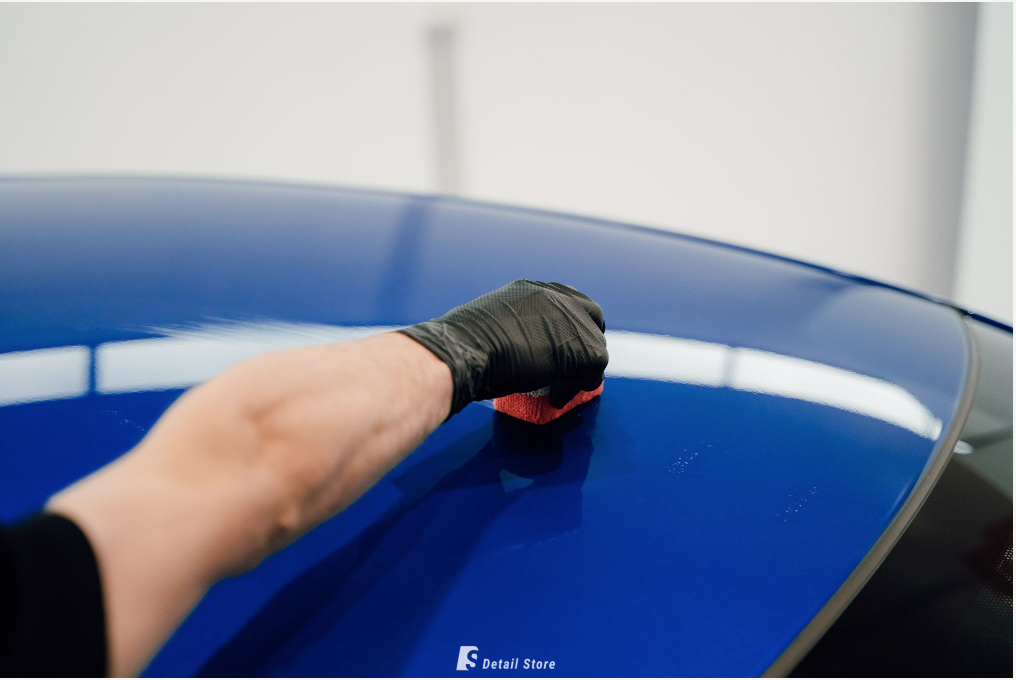
- Dampen the applicator pad with the ceramic coating solution.
- Apply the coating in a criss-cross pattern to ensure even coverage.
- Allow it to bond with the surface for a few minutes (the ‘flash’ time).
- Using a clean microfiber cloth, gently buff off the residue to reveal a high-gloss finish.
- Repeat the process panel by panel until the entire car is coated.
Curing Time
After application, the coating needs to cure for a specific time, usually ranging from a few hours to a day, depending on the product. During this period, avoid exposing the car to rain or moisture.
Post-Application Tips
Maintaining the Ceramic Coat
To maintain the newly applied coat, avoid washing the car for at least a week. Afterward, use pH-neutral car wash soaps for routine cleaning.
Common Mistakes to Avoid
- Applying on a Dirty Surface: One of the cardinal mistakes is applying the coating on a dirty surface. Ensure the car is thoroughly cleaned and prepped before application to prevent sealing in dirt and imperfections.
- Not Testing a Small Area First: Before applying the coating to the entire car, always do a test spot to check the product’s compatibility with your car paint and to get a feel for the application process.
- Using the Wrong Applicator: Using the wrong type of applicator can result in streaks and uneven coverage. Always use the recommended applicator for the specific product you are using.
- Applying Under Direct Sunlight: Avoid applying the coating under direct sunlight or on a hot surface, as it can cause streaks and an uneven finish.
- Overapplication: Applying too much product won’t necessarily provide more protection and can instead lead to an uneven finish and wastage of the product. It’s best to follow the product’s usage instructions closely.
- Not Allowing Adequate Curing Time: Neglecting the recommended curing time can compromise the durability and finish of the coating. Always allow the prescribed time for the coating to cure for best results.
- Skipping the Clay Bar Process: Failing to use a clay bar to remove embedded contaminants from the paint can result in a less-than-perfect finish.
- Not Buffing the Residue Off in Time: Once the coating ‘flashes’ or bonds with the surface, there’s a specific time frame within which the residue should be buffed off. Missing this window can result in high spots and an uneven finish.
Conclusion
Embarking on a DIY ceramic coating project can be immensely satisfying and rewarding. With the right preparation and adherence to each step, you’ll have your car gleaming with a professional shine in no time.
Now if you aren’t too sure about getting started or are looking for a list or products to begin, head over to our Ceramic Coating guide to learn more.