


Understanding Paint Transfer
Paint transfer is a common issue that occurs when another object leaves a mark of its paint on your car’s surface.
This can happen during minor accidents, such as bumping into another car or scraping against a painted surface.
While it may seem like a major problem, paint transfer can often be resolved with the right tools and techniques, saving you time and money on professional repairs.
Causes of Paint Transfer
Paint transfer occurs when the paint from another object is transferred onto your car’s surface. This can happen due to a variety of reasons, including:
- Minor accidents or collisions with other vehicles or objects.
- Scraping against painted surfaces, such as walls or barriers.
- Rubbing against another car’s paint during parking or tight manoeuvres.
Distinguishing Paint Transfer from Scratches
Paint transfer is often mistaken for a scratch but the main way to tell the difference is through the colour of the scuff mark.
Scratches typically eat through a clear coat, exposing your paintwork or the underlying surface (metal or plastic).
Even when paint transfer includes a scratch, this can be worked on and improved to the point where the main paint transfer is almost indiscernible resulting in a far less obvious scuff on the surface.
Materials You Need To Fix Paint Transfer
Before you begin, gather the following materials:
- Car wash soap or a clay bar kit with lubricant
- Cutting compound
- Cutting pad
- Polishing compound
- Microfiber towels
- Wax or sealant
- Bumper guards or parking sensors (for prevention)
- Ceramic coating kit (optional, for prevention)
Steps to Remove Paint Transfer
Removing paint transfer can be done at home with the right tools and products. Here’s a step-by-step guide to help you remove paint transfer effectively:
1. Wash the Affected Area: Start by washing your car or spot cleaning the paint transfer area to remove any contaminants and waxes/sealants.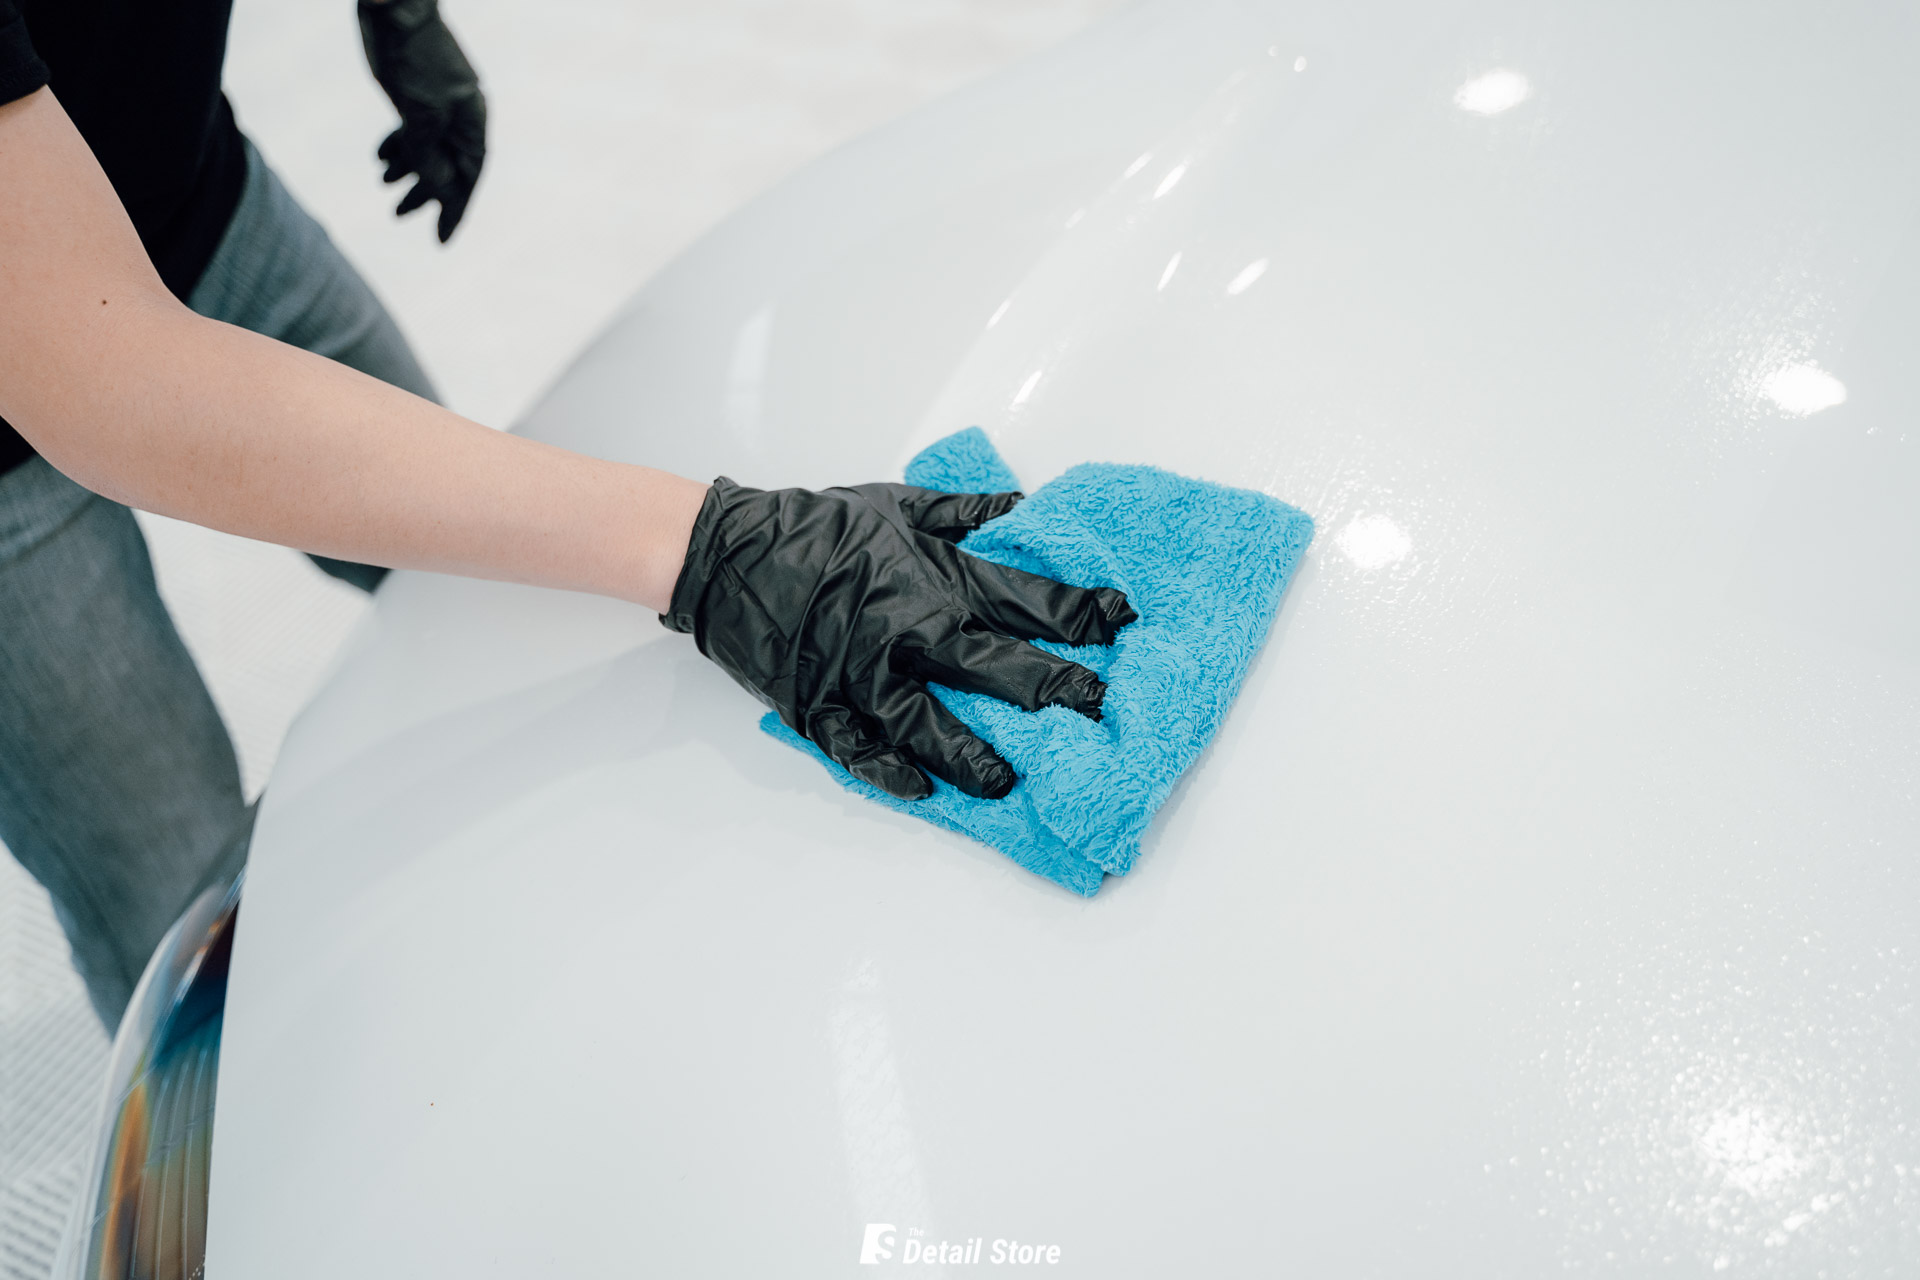
2. Use a Clay Bar: If the paint transfer persists, use a clay bar with sufficient lubricant to further remove contaminants and some of the paint transfer.
3. Apply Cutting Compound: Apply a cutting compound to a cutting pad and go over the affected area with several passes until the majority of the blemishes have been removed.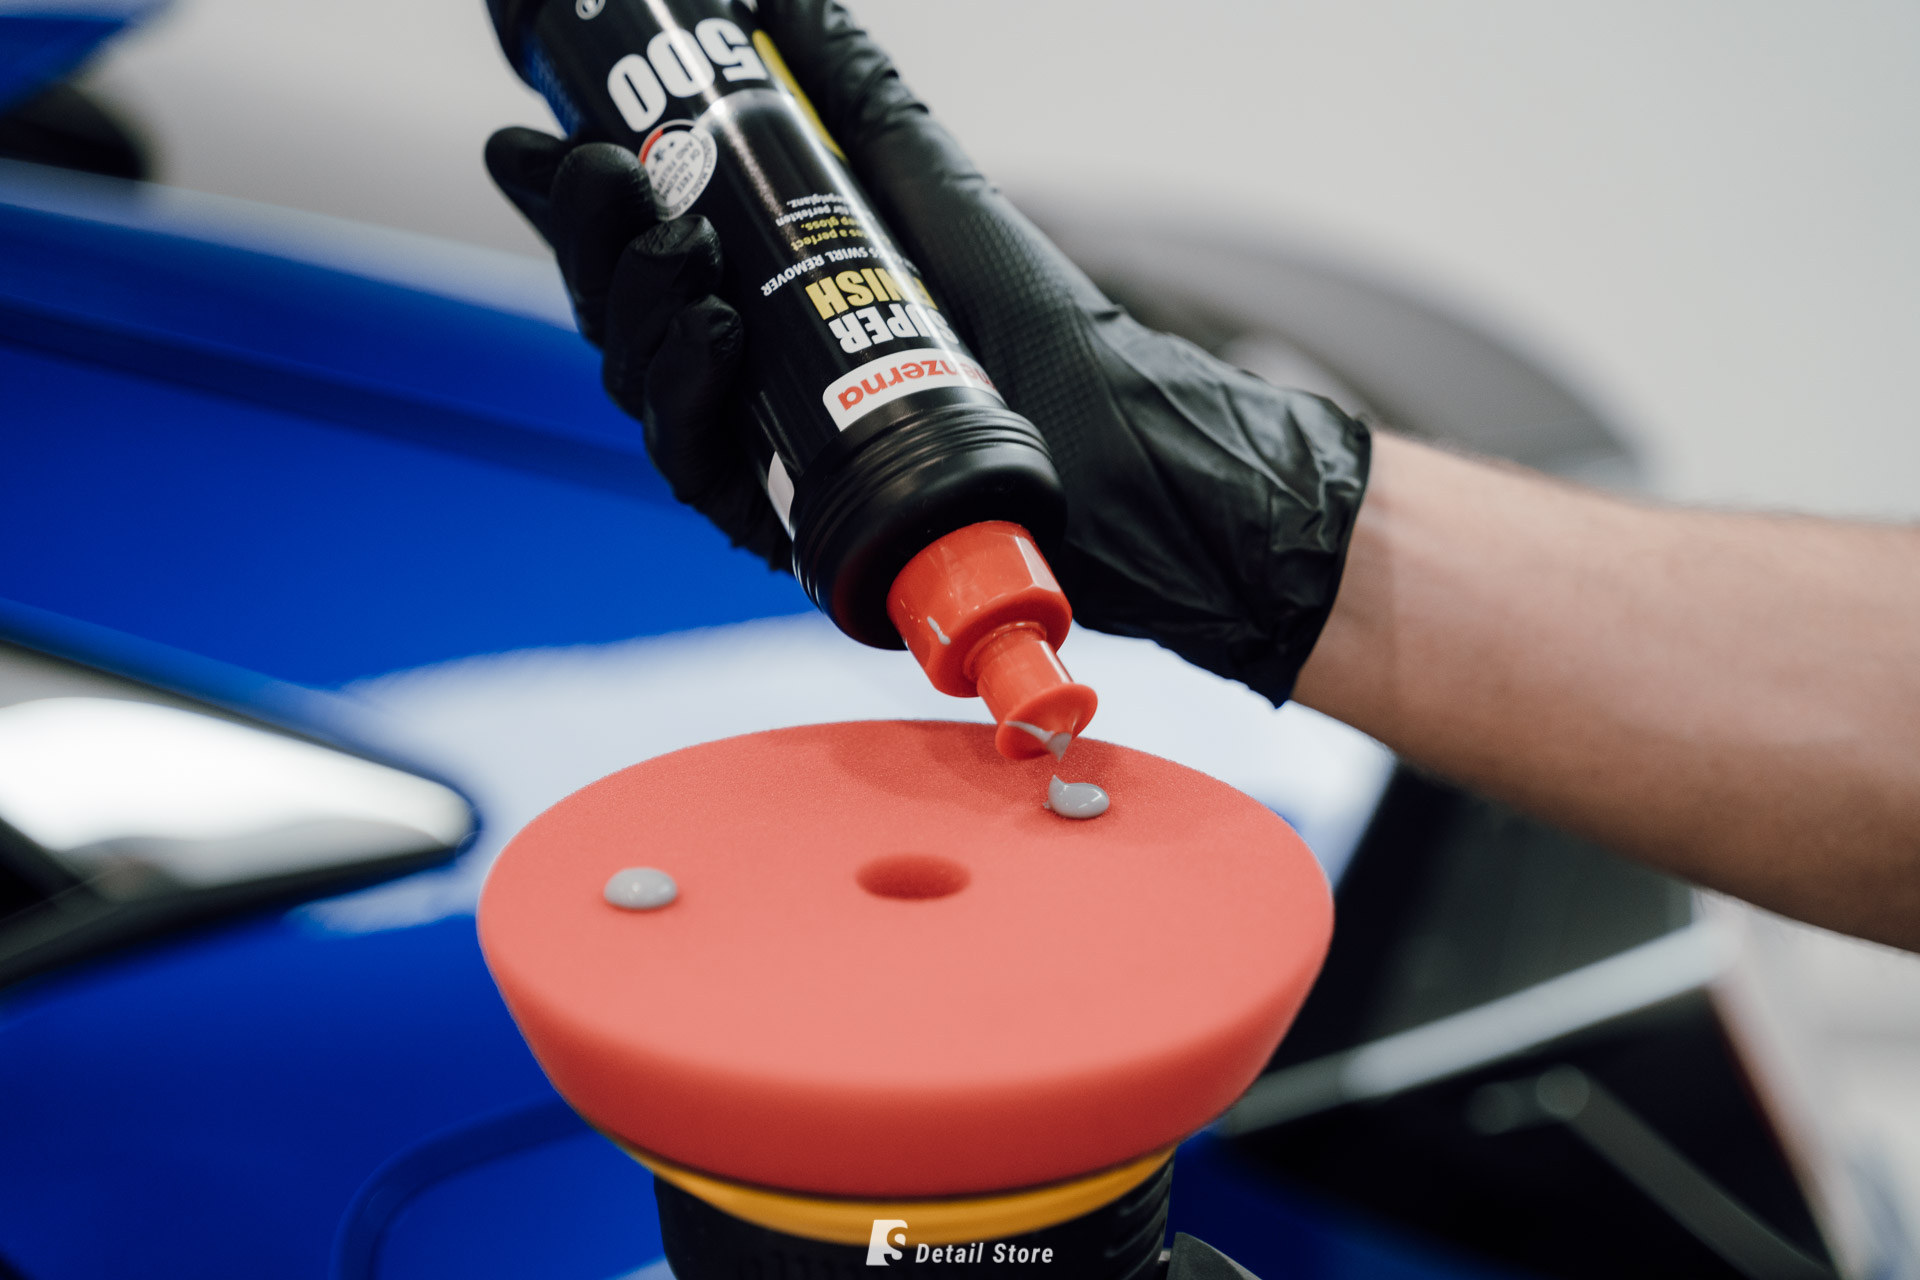
4. Wipe Off Excess Compound: Use a microfiber towel to wipe off any excess cutting compound from the surface.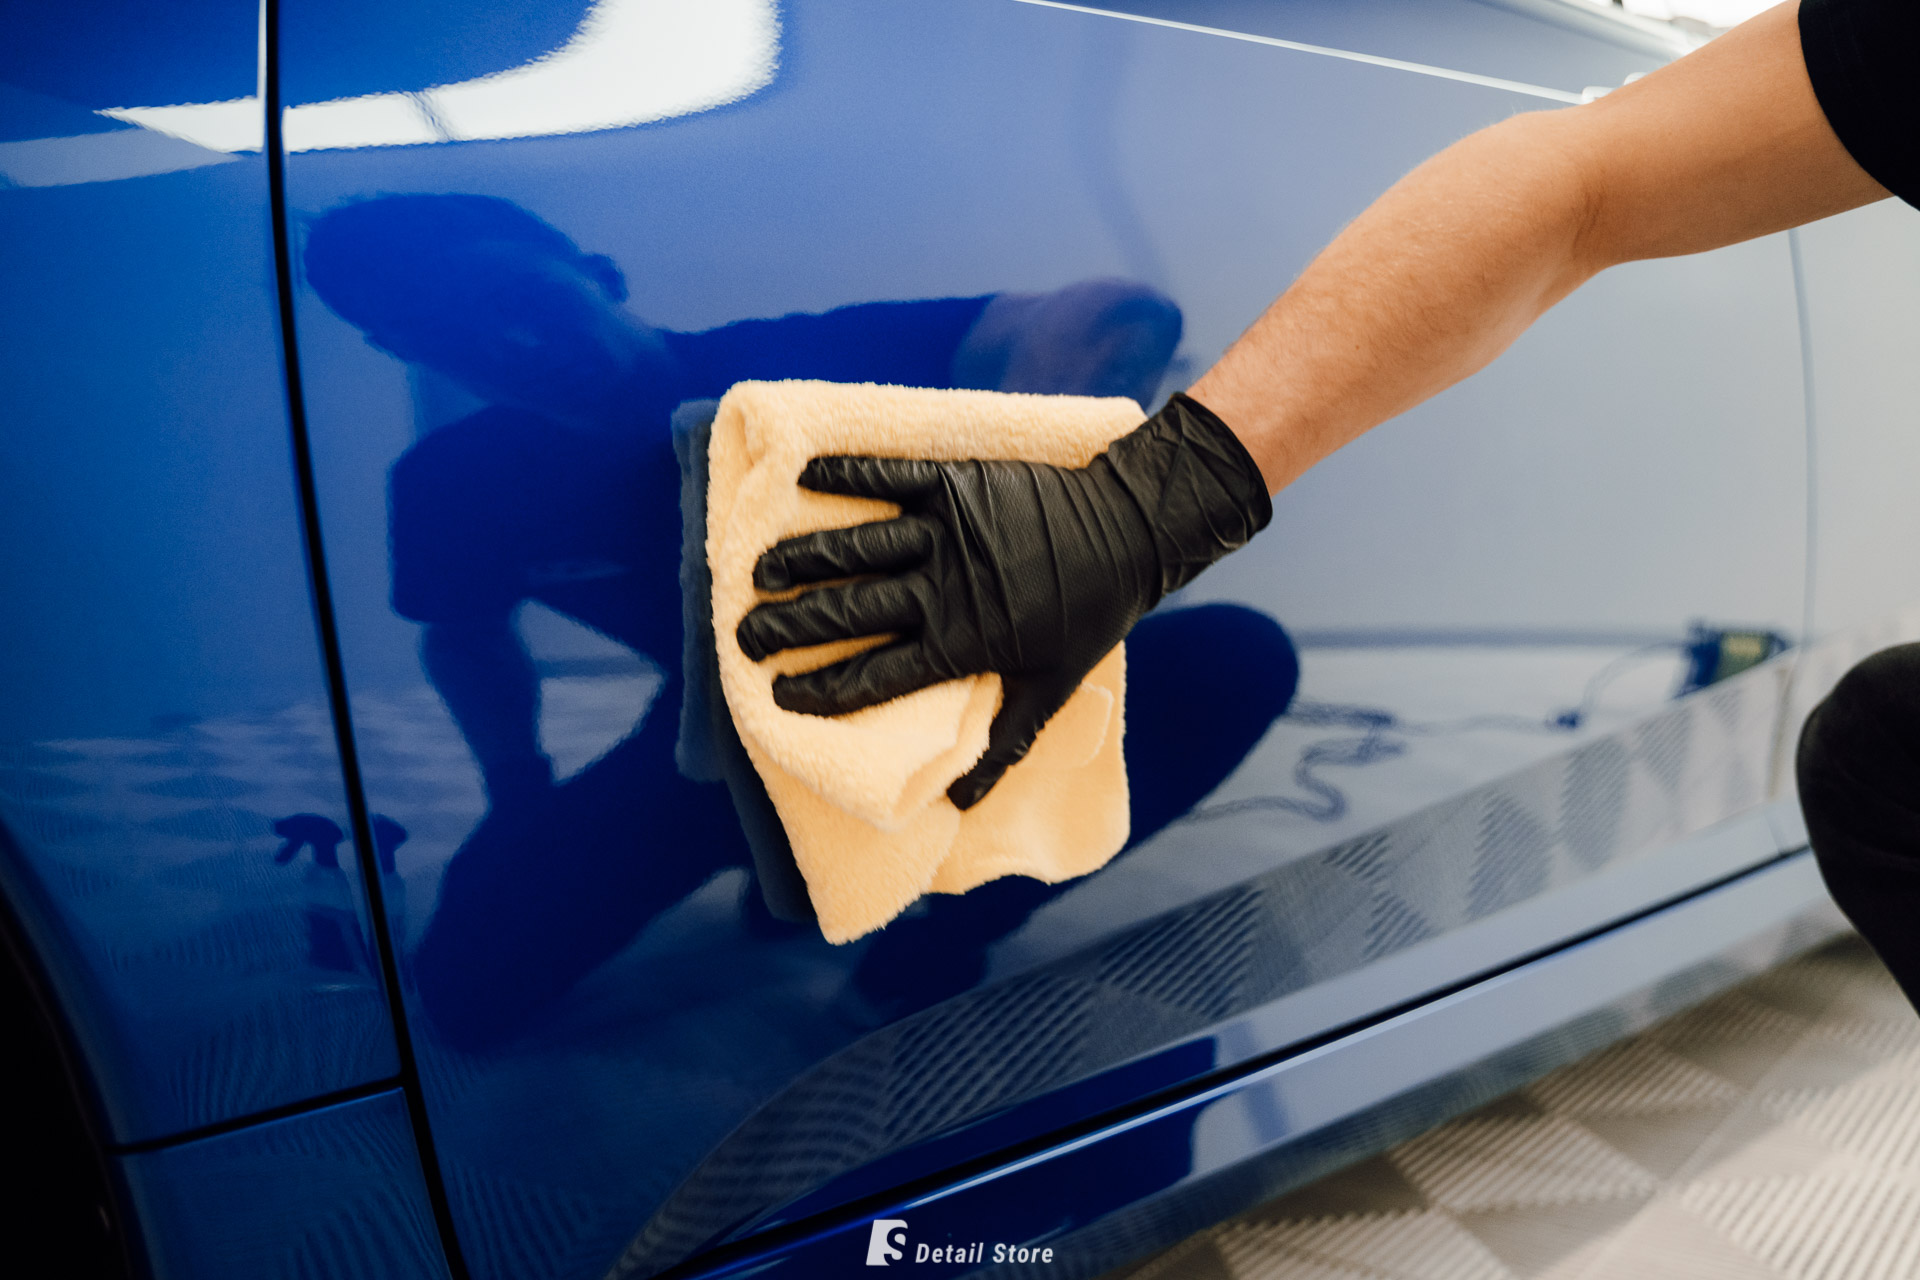
5. Polish the Surface: Apply a polishing compound to restore the shine and gloss to the treated area.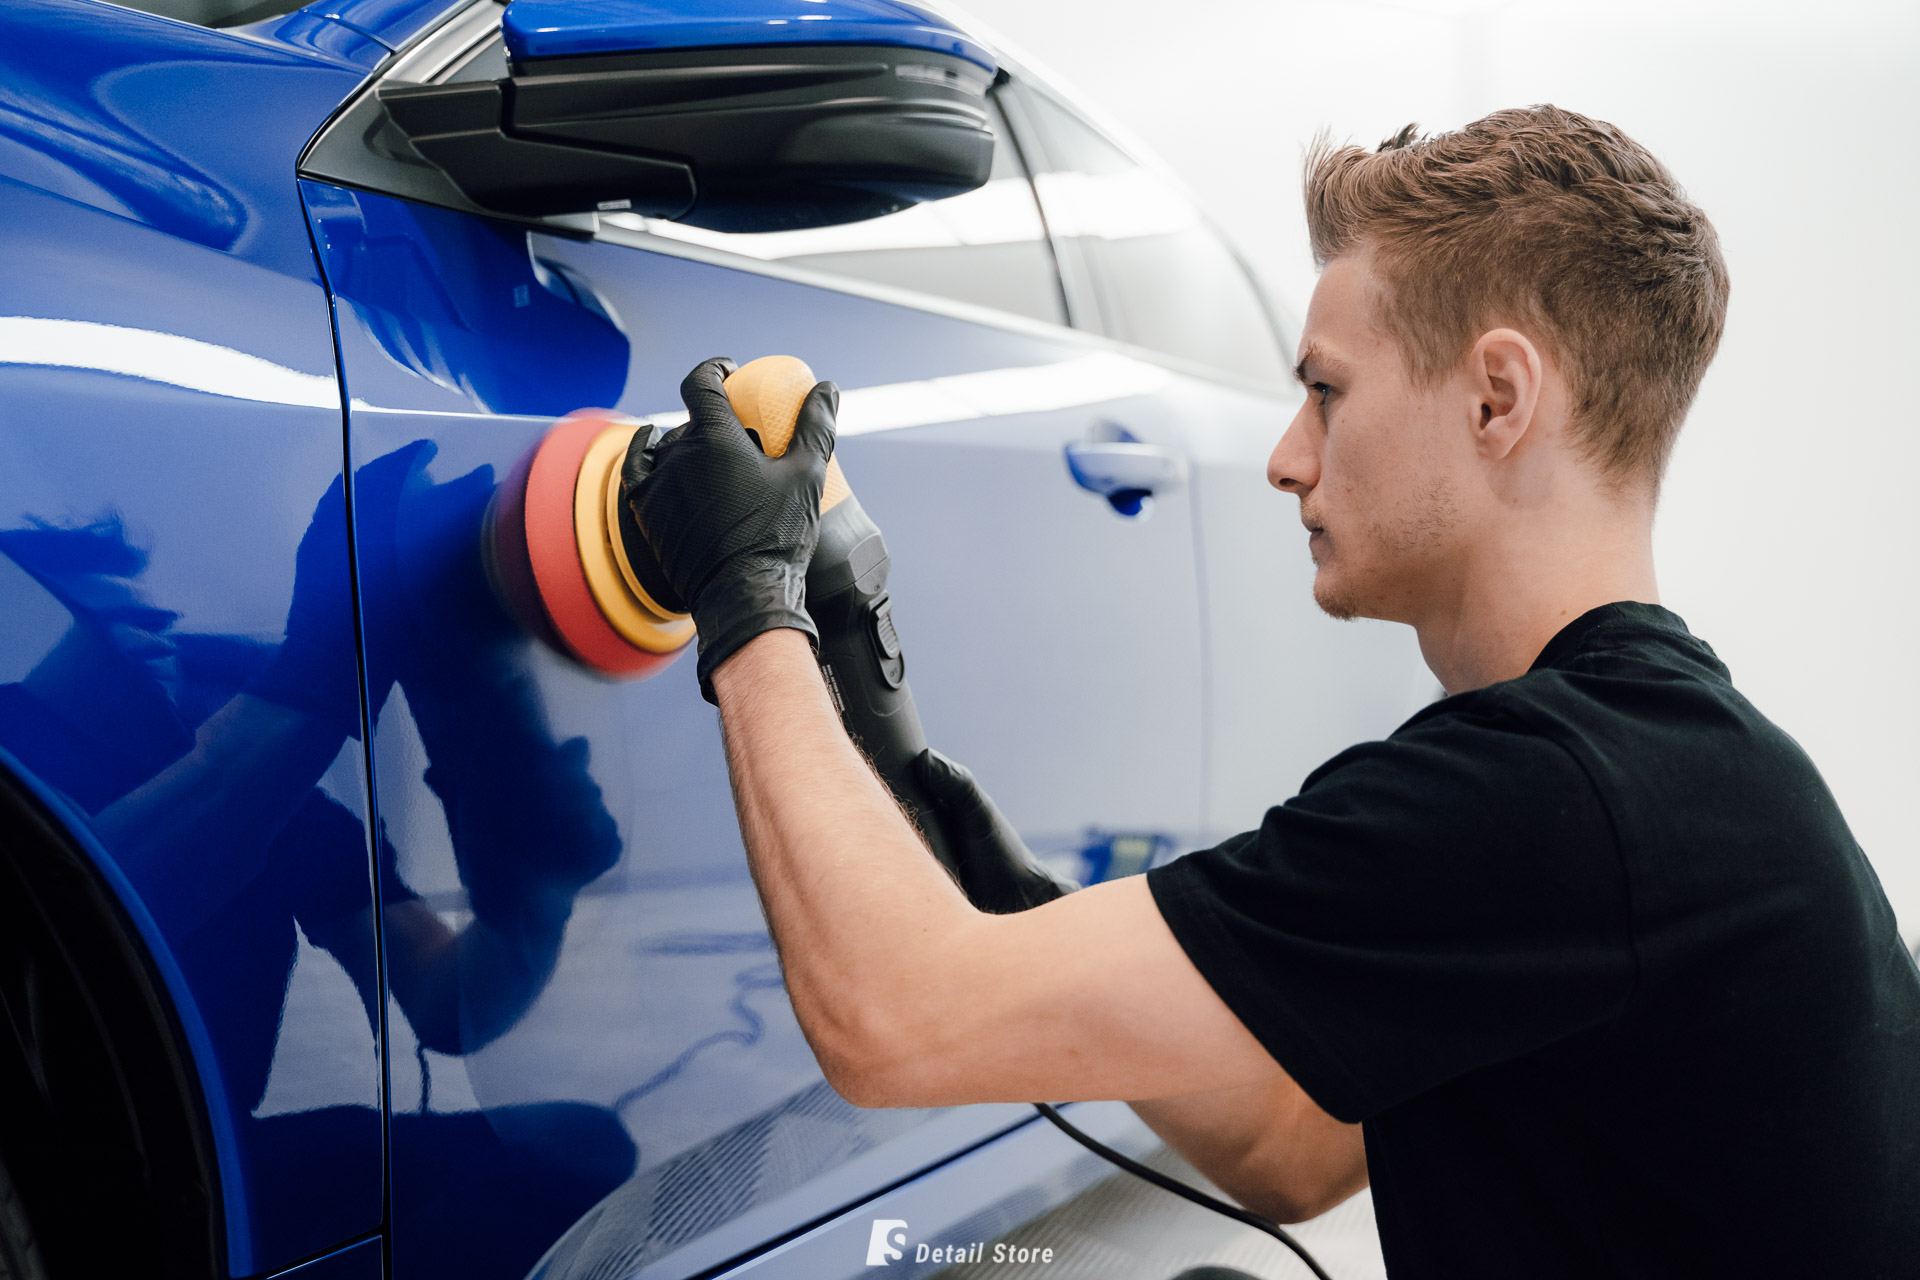
6. Wax or Seal the Surface: Finally, apply a wax or sealant to protect the surface and provide a barrier against future paint transfer.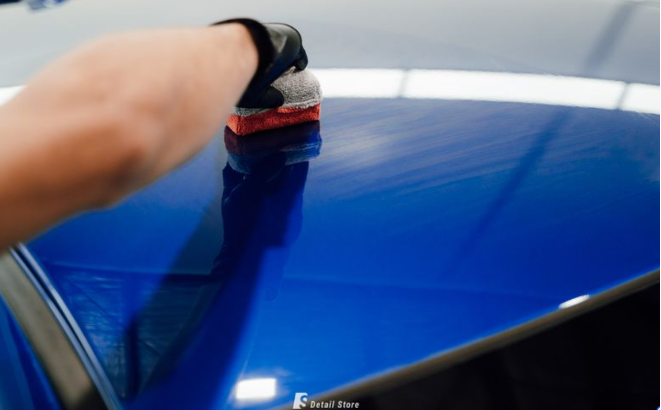
Preventing Paint Transfer
To prevent paint transfer in the future, consider the following tips:
- Be cautious when parking to avoid scraping against other vehicles or objects.
- Use protective measures, such as bumper guards or parking sensors, to minimise the risk of minor collisions.
- Regularly wash and wax your car to maintain a protective barrier on the paint.
You may even consider ceramic coating, which provides a durable, long-lasting protective layer on your car’s paint. Ceramic coatings create a hydrophobic surface that repels dirt, water, and contaminants, making it harder for paint transfer to occur.
Does WD-40 Remove Paint Transfer?
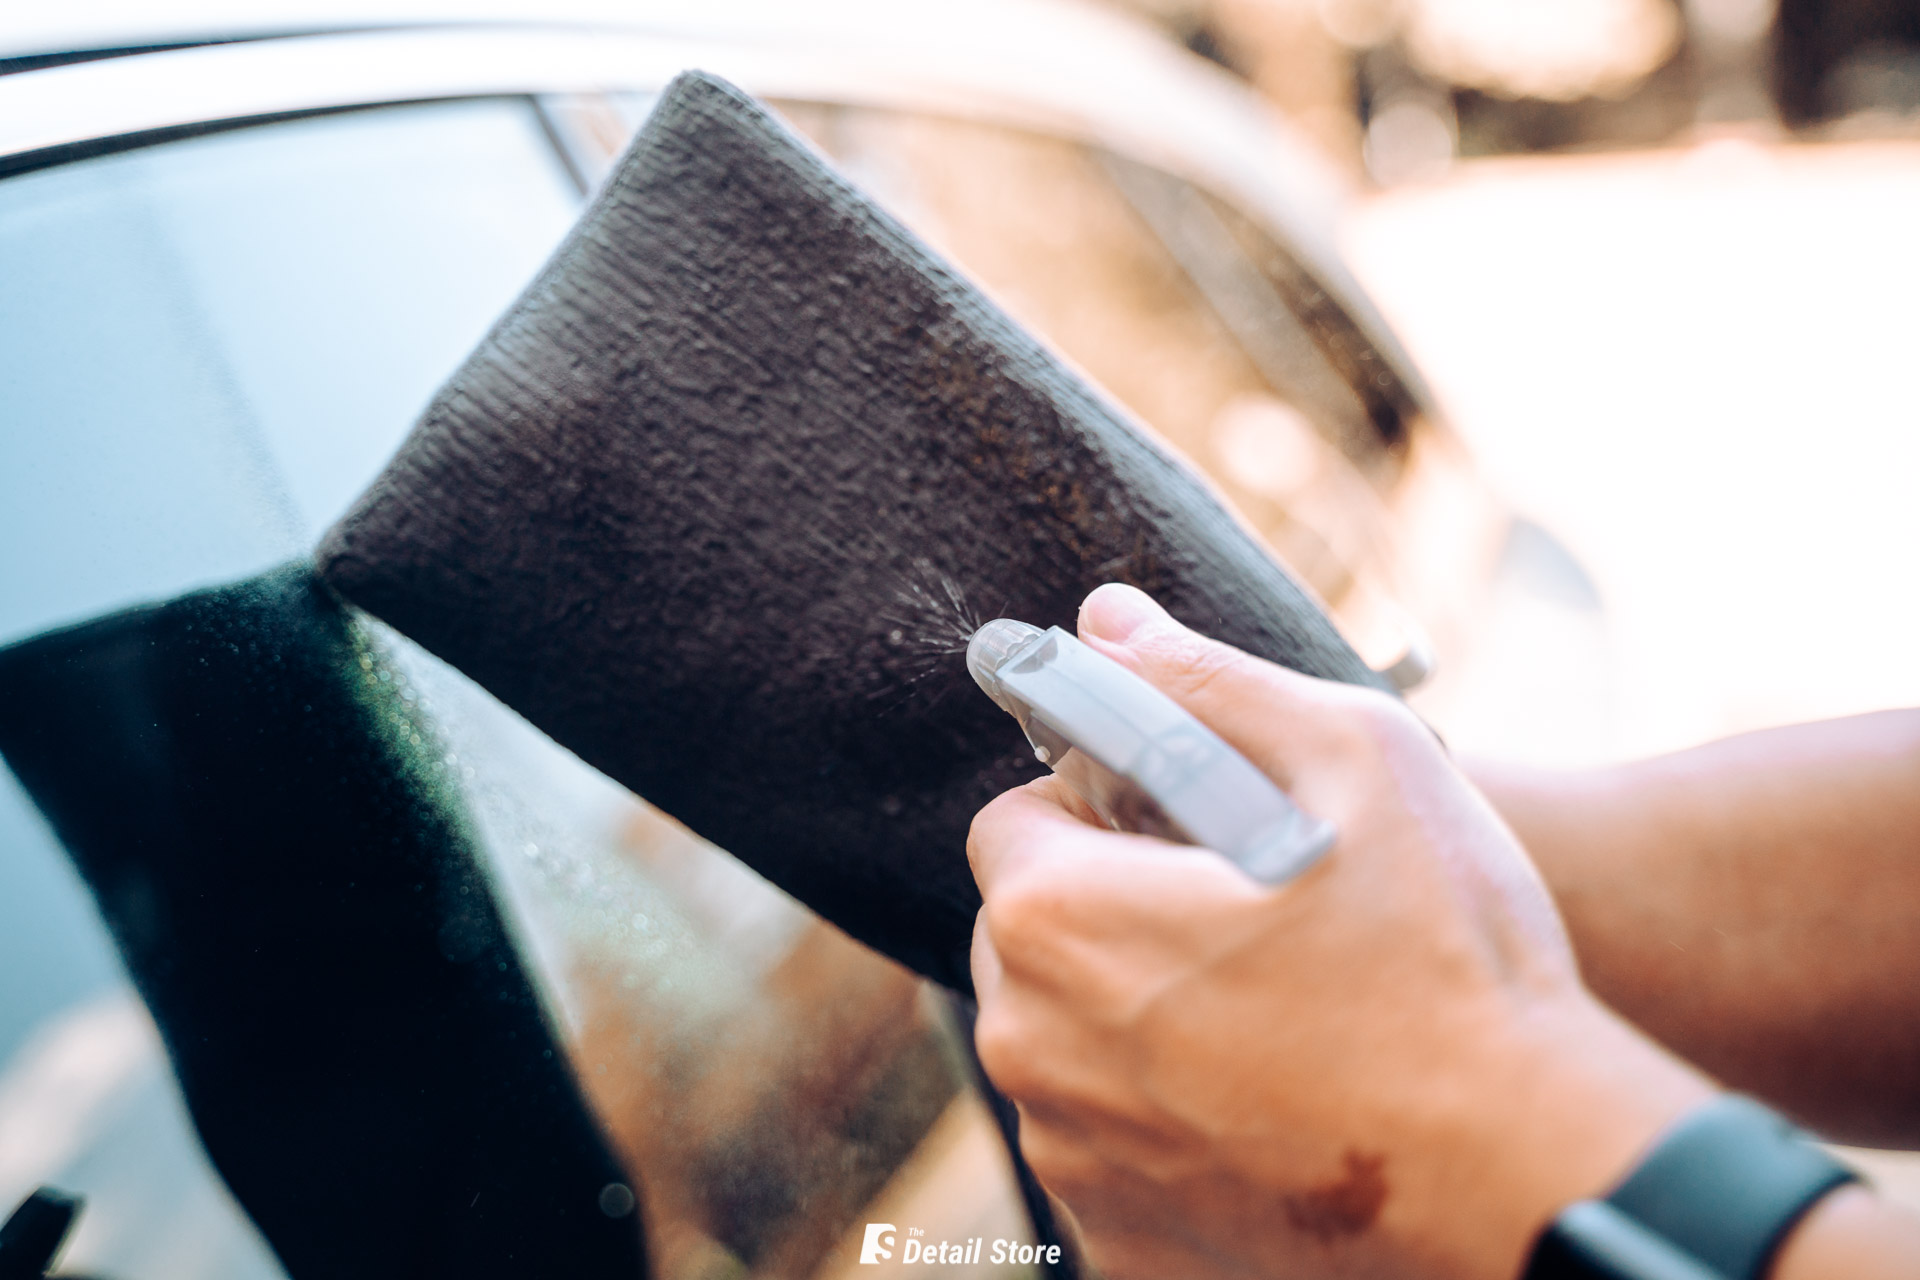
Yes, WD-40 can be effective in removing paint transfer with some exceptions.
To use, simply spray WD-40 on the affected area (make sure the area has been properly cleaned), let it sit for a few minutes, and then wipe it off with a clean microfibre cloth.
Repeat the process if necessary until the paint transfer is removed.
Keep in mind that while WD-40 does an acceptable job of removing paint transfer, it may not be able to fully remove all of the paint.
It definitely will not be able to level the affected areas (when using WD-40 alone) as there are no abrasives in it to smoothen the surface. This means that the area may still be scuffed.
For better results, consider using a dedicated paint cleaner or polish specifically designed for removing paint transfer.
Other Materials for Removing Paint Transfer
In addition to WD-40, other materials that can be used to remove paint transfer include:
- Isopropyl alcohol
- Rubbing compound
- Automotive clay bar
These materials can be effective in removing paint transfer, but it’s important to use them carefully and test them on a small, inconspicuous area of your car’s paint before applying them to the entire affected area.
Conclusion
Paint transfer, though unsightly, is a common issue that can be effectively addressed with the right tools and techniques.
Regular maintenance and preventive measures, such as careful parking and the use of protective coatings, can help minimise the risk of paint transfer in the future.
While WD-40 can be a quick fix, for optimal results, consider using specialised paint cleaners or polishes designed for this purpose. With proper care and attention, you can keep your car looking its best and protect its paintwork for years to come.