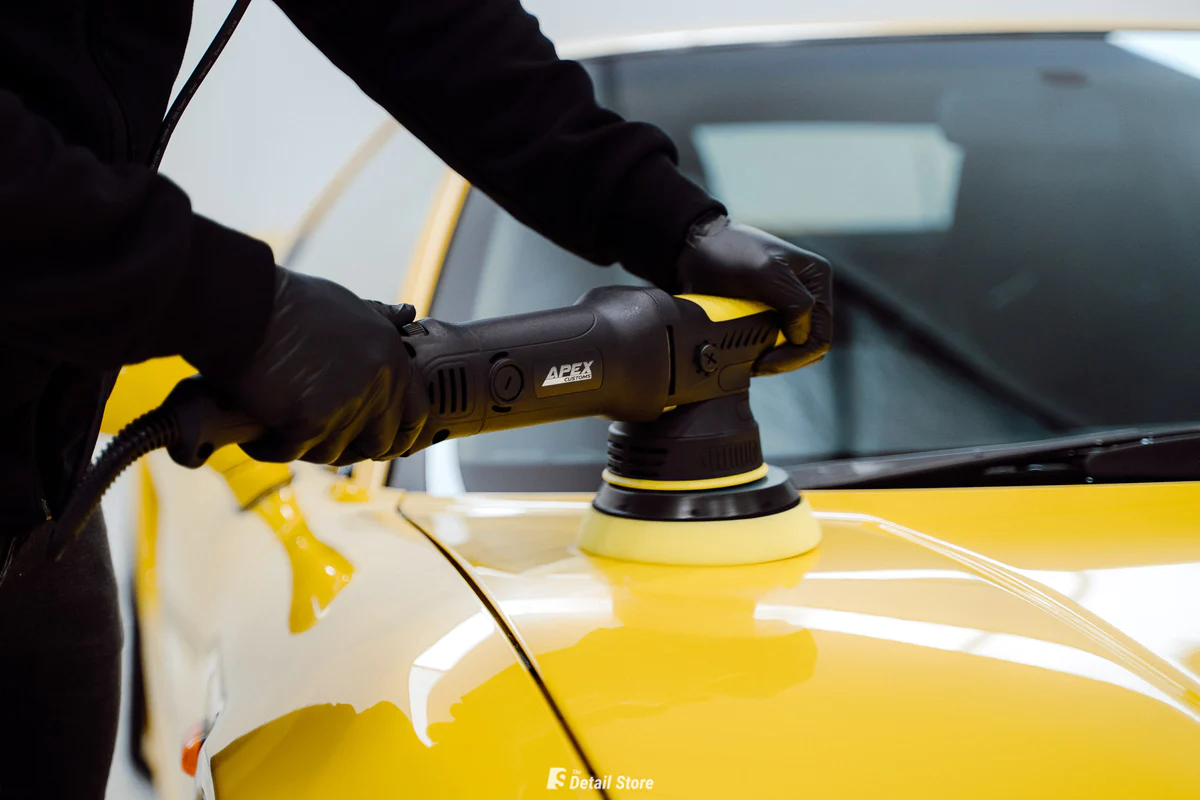
Intro:
Cutting and polishing are essential for restoring and maintaining the shine and quality of your car’s paint.
Over time, paint can become marred by scratches, swirl marks, and oxidation, leaving your car looking dull and worn.
Cutting removes imperfections from the surface, while polishing refines the paint, bringing back its gloss and smoothness.
Below we’ll go through the differences of a cut and polish and go through the process step-by-step.
What is the Difference Between Cutting and Waxing vs. Cut and Polish?
When it comes to paint correction, it’s important to understand the difference between cutting and waxing and the process of cutting and polishing.
Cutting and Waxing
Cutting and waxing typically involve using an abrasive compound (cutting) to remove surface imperfections like oxidation or light scratches, followed by waxing to add a layer of protection and enhance the shine. Waxing doesn’t correct defects but provides a glossy finish and protection from environmental elements.
Cut and Polish
Cutting and polishing is a more in-depth process. The cutting stage removes defects such as deeper scratches, swirl marks, and oxidation, while polishing refines the surface to enhance gloss and depth. Polishing smooths out any remaining abrasions from the cutting stage, leaving a perfect finish that’s ready for protection, such as wax or ceramic coating.
A cut and polish is much more thorough than a simple wax, and it’s aimed at restoring the paint, while waxing is primarily for protection and shine.
Should You Get Professionals or Take the DIY Route?
Professional Services
If you’re looking for expertise and the best possible results, a professional detailer is the way to go. Professionals have access to high-grade tools and products that ensure precise results and quicker turnaround times. However, this comes with a higher cost.
DIY Approach
For car enthusiasts or those on a budget, the DIY approach can be rewarding. With the right tools and patience, you can achieve impressive results at a lower cost. Just remember that cutting and polishing require careful attention to avoid damage.
Step-by-Step Guide to Cutting and Polishing Your Car
Step 1: Preparation
- Gather all necessary tools and materials. This includes a dual-action or rotary polisher, foam pads, cutting compounds, polishing compounds, microfiber towels, and a wax or sealant for finishing.
- Start by thoroughly washing the car to remove surface dirt.
- Follow up with decontamination, which includes using a clay bar to remove embedded contaminants from the paint surface. This ensures a smooth surface for cutting and polishing and prevents damage during the process.
Step 2: Cutting Process
- Choose an appropriate cutting compound and pad for your vehicle’s paint type and condition.
- Apply the compound to the pad and begin working in small sections, keeping the polisher in constant motion.
- Use moderate pressure to remove surface imperfections such as scratches, oxidation, and swirl marks. Overlap your passes slightly to ensure even coverage and avoid overheating any one area.
Step 3: Polishing Process
- Switch to a polishing compound and a softer pad. This step will refine the paint, bringing out a deep gloss and enhancing clarity.
- Just as with cutting, work in small sections using overlapping passes to ensure even results. Polishing will smooth out any remaining micro-abrasions left by the cutting process, leaving the paint in pristine condition.
Step 4: Protective Layer
- Apply a coat of wax, sealant, or ceramic coating to lock in the shine and provide a protective layer against future contaminants.
- Use a foam applicator pad to apply the product in straight lines, then buff with a clean microfiber towel to remove any residue and reveal a glossy, protected finish.
Step 5: Final Buff
- After the protective layer has dried, perform a final buff using a clean, soft microfiber towel. This step ensures that all residue from wax or sealant is removed, revealing a high-gloss finish.
- Use gentle, circular motions, and work in small sections to achieve a streak-free, showroom-quality shine.
Tips for Best Results
- Use Quality Products and Tools: Invest in high-grade pads, compounds, and polishers to achieve optimal results.
- Work in a Shaded Area: Direct sunlight can cause products to dry too quickly, leading to uneven results or damage to the paint.
- Take Breaks: Cutting and polishing can be a time-consuming task. Take breaks to avoid fatigue, which could lead to mistakes.
Conclusion
Cutting and polishing your car not only enhances its appearance but also extends the life of your paint.
Whether you’re a DIY enthusiast or prefer professional help, choosing the right approach and products is key. Enjoyed this blog? Check out more of our detailed guides and product recommendations to keep your car in top condition!
-

Calvin brings a wealth of experience across multiple engineering disciplines, including chemical, mechanical, and electrical engineering. His in-depth knowledge of filtration systems and hydraulic pumps has positioned him as an expert in the pressure washer product category. With a unique combination of technical expertise and business insight, Calvin excels at solving complex challenges and driving innovation, particularly in the car detailing industry.
-

Aaron is a passionate car detailing enthusiast who channels his expertise and love for pristine vehicles into engaging blog content for a leading detail store website. With a keen eye for detail and a wealth of knowledge about the latest products and techniques, Aaron provides invaluable insights and tips to fellow car enthusiasts. His dedication to achieving showroom-quality results and his ability to explain complex processes in an easy-to-understand manner make his blog a go-to resource for anyone looking to elevate their car detailing game.

