


Correcting paint can be a tedious and dangerous task. We are aware that each car will react differently based on factors such as:
- Age
- Colour
- Lifestyle (how the car has been maintained/housed)
- Previous touch ups or resprayed panels
- Quality assurance from factory
The two most unknown factors are lifestyle and resprayed panels – though sometimes it can be quite obvious!
Nevertheless, over our years of slaying paint, we have identified these simple steps to help you achieve great results.
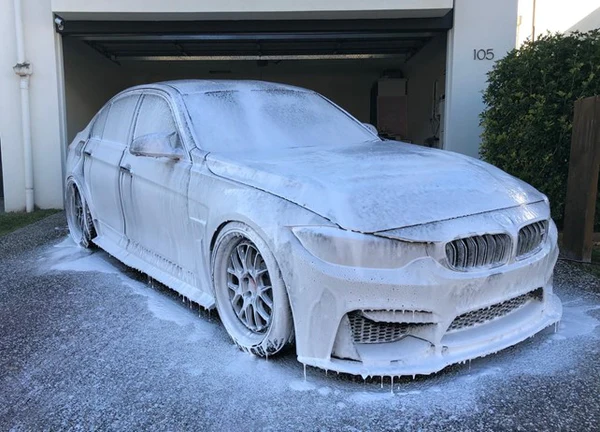
Tip 1: Proper Preparation (PREP!)
Preparation is crucial for successful paint correction. Begin by stripping the paint of any sealants, wax, iron, or tar buildup using an iron fallout remover, tar remover, clay bar, and thorough washing. Proper prep prevents pad clogging and avoids embedding contaminants that can cause defects.
Key Steps:
- Use iron and tar fallout removers.
- Employ a clay bar to remove embedded contaminants.
- Re-wash the vehicle thoroughly.
Pro Tip: Ensure your pad remains uncontaminated to avoid creating pig-tails, which can ruin the finish.
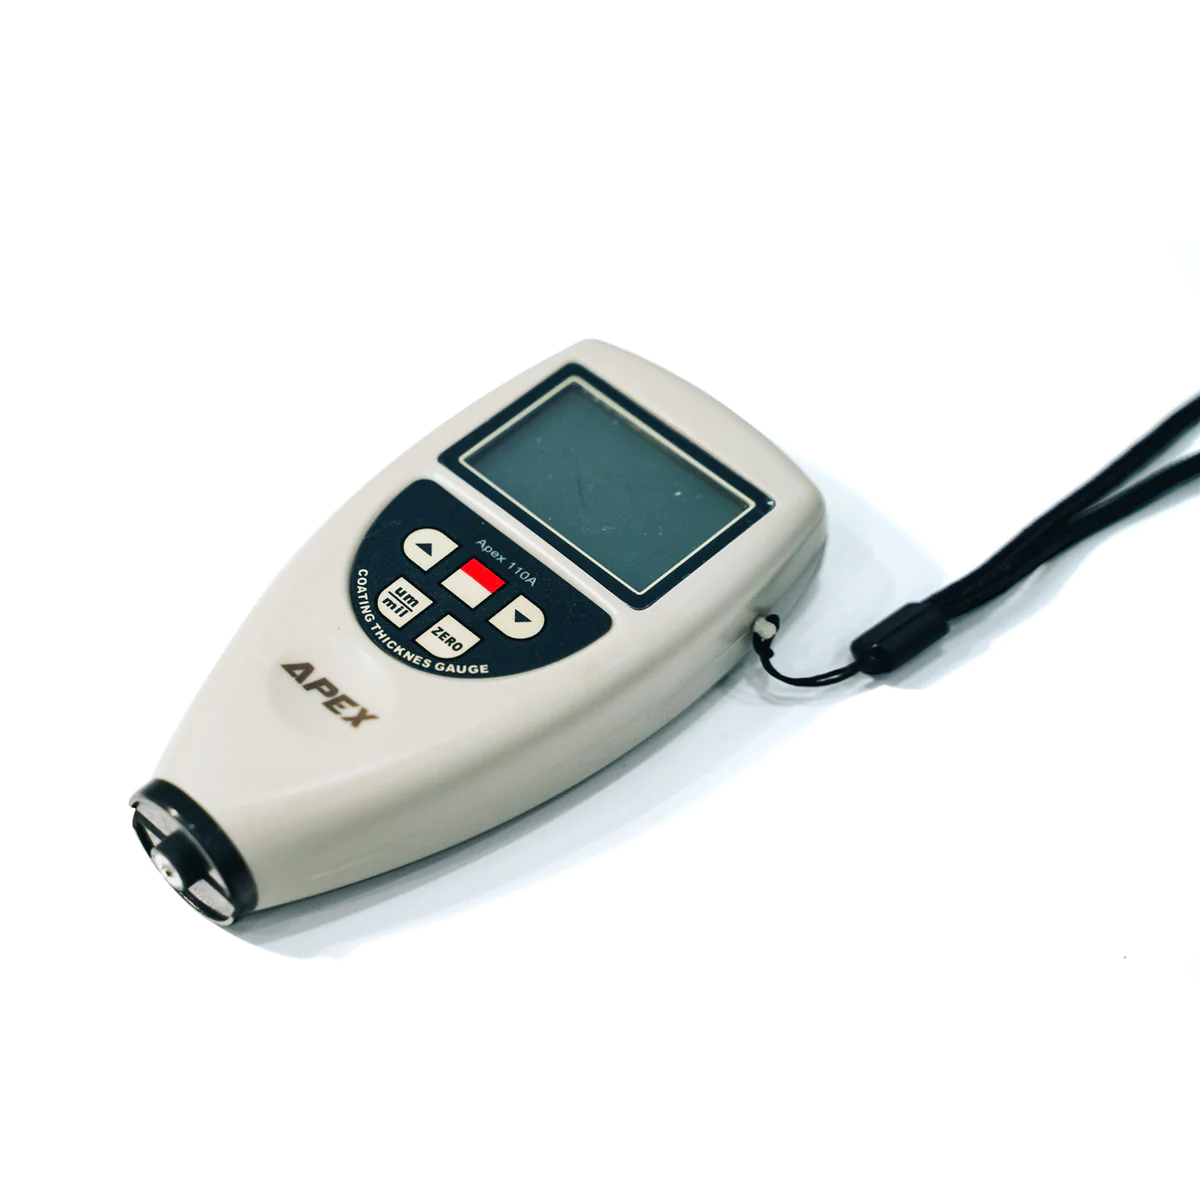
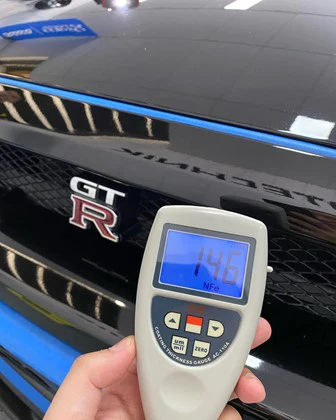
Tip 2: Accurate Measurements
Using a Paint Thickness Gauge (PTG) is essential for measuring each panel’s thickness in multiple spots. Document these readings to know how much material can be safely removed, helping avoid damage to the clear coat.
Key Steps:
- Measure each panel to determine the paint thickness.
- Document readings to monitor safe removal levels.
Pro Tip: Regularly re-measure during the correction process to track the impact of your work.
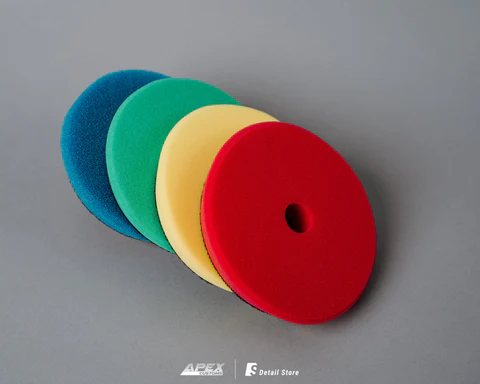
Tip 3: Keep Everything Clean
Maintaining clean pads and equipment is crucial. Use a fresh pad when testing different pad/compound combinations. Clean pads between each use to prevent compound buildup, which can cause damage and skew results.
Key Steps:
- Start with clean pads for testing.
- Avoid mixing compounds without thorough pad cleaning.
- Clean pads after each panel or large surface.
Pro Tip: Use a pad cleaner or dedicated tool to thoroughly clean pads and prolong their lifespan.
Tip 4: Be Patient
Paint correction requires patience and precision. If you start feeling fatigued or frustrated, take a break. Rushing the process can lead to mistakes and suboptimal results.
Key Steps:
- Work methodically and take breaks as needed.
- Focus on consistent, controlled movements.
Pro Tip: Quality over speed—take your time to ensure the best possible outcome.
Conclusion
By following these tips, you can achieve professional-level paint correction results. Proper preparation, accurate measurements, cleanliness, and patience are key to successful paint correction.Want to learn more? Check out The Detail Store’s detailed paint correction guides and product recommendations and set yourself up for car detailing success.
FAQs on Paint Correction
1. What is paint correction?
Paint correction involves removing imperfections from a car’s paintwork, such as swirls, scratches, and oxidation, to restore a smooth and glossy finish.
2. Can I perform paint correction at home?
Yes, with the right tools and products, you can perform paint correction at home. However, it requires patience and attention to detail.
3. How do I know if my car needs paint correction?
Look for signs like swirl marks, scratches, fading, and dullness in your car’s paint. If the surface feels rough or looks uneven, paint correction may be needed.
4. What tools are essential for paint correction?
Essential tools include a dual-action polisher, various polishing pads, compounds, a clay bar, and a Paint Thickness Gauge (PTG).
5. How often should paint correction be done?
The frequency depends on the car’s exposure to environmental factors and how well it’s maintained. Typically, once a year is sufficient for most vehicles.
6. Can paint correction remove deep scratches?
Paint correction can remove minor to moderate scratches. However, deep scratches that penetrate the clear coat may require more extensive repair, like touch-up paint or professional respraying.
7. Is paint correction safe for all paint finishes?
Most paint finishes can safely undergo paint correction, but always test a small, inconspicuous area first. Special care is needed for matte or special finishes.
8. What’s the difference between compounding and polishing?
Compounding is more aggressive and removes deeper imperfections, while polishing is finer and used to refine and enhance the paint’s gloss. Both are typically part of the paint correction process.