


Introduction
We all love that fresh, clean car smell, don’t we? But maintaining a pristine car interior is not just about smelling good; it’s about preserving the value and comfort of your vehicle.
Australian roads can sometimes mean our car interiors suffer. Dust, grime, and the occasional spill can accumulate, leaving you with a less-than-pleasant driving environment.
This comprehensive guide aims to be your one-stop solution for a spotless car interior that looks as good as new.
Choosing the Right Products
Before you begin, selecting the appropriate cleaning products and tools is a vital step to ensure not only a successful clean but also to maintain the integrity of your interior materials.
| Product Type | Purpose |
| Leather Cleaners and Conditioners | Ideal for maintaining the plushness and longevity of leather surfaces. |
| Fabric and Upholstery Cleaners | Helpful in removing tough stains and grime from seat covers and carpets. |
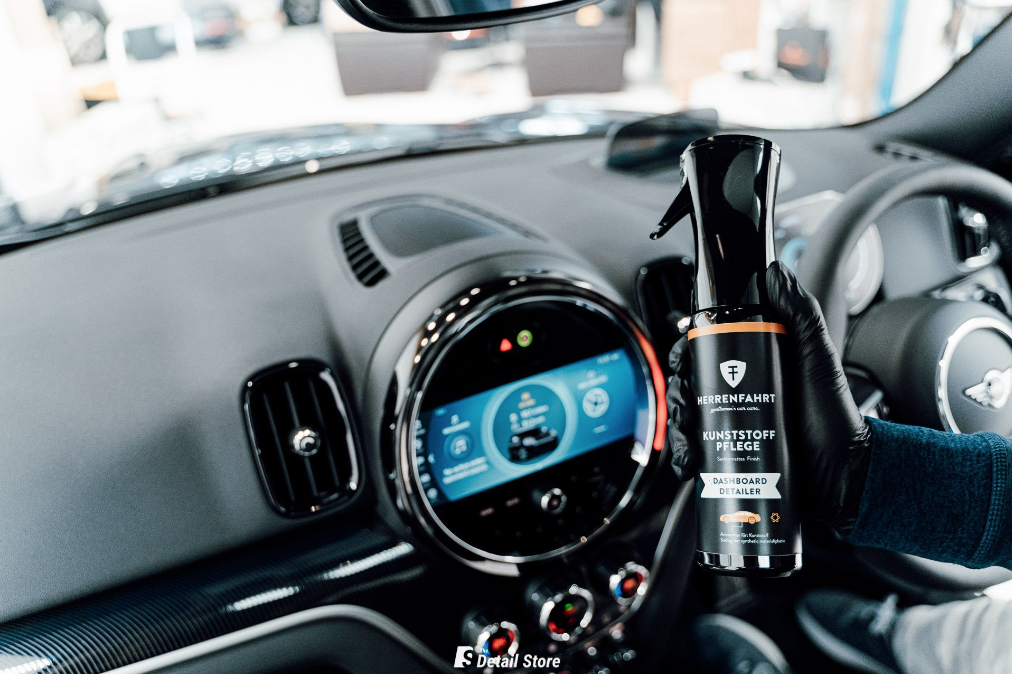
| Plastic and Vinyl Cleaners | Perfect for shining up dashboards and other hard surfaces. |
| Glass Cleaners | Essential for streak-free windows that provide clear visibility. |
| Air Fresheners | To add a finishing touch with a pleasant fragrance. |
DIY interior detailing necessitates the right array of products, as outlined in our comprehensive table. From leather cleaners and conditioners, which safeguard the plushness of leather surfaces, to fabric and upholstery cleaners that tackle stubborn stains on seat covers and carpets effectively.
Plastic and vinyl cleaners rejuvenate hard surfaces with a fresh shine, while glass cleaners ensure streak-free and clear windows. Lastly, round off your cleaning session with a whiff of freshness using quality air fresheners, elevating your car’s overall ambience.
Gathering Necessary Tools
| Materials | Uses |
| Brushes | For loosening dirt on various surfaces. |
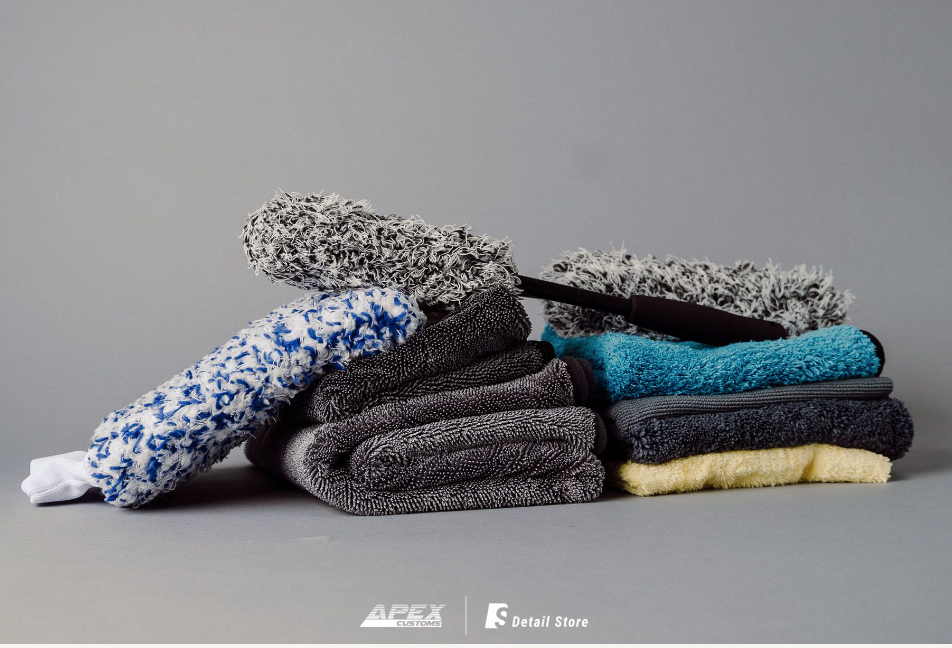
| Microfiber Cloths | Ideal for cleaning without leaving lint behind. |
| Vacuum Cleaner | Essential for removing dust and debris. |
| Steam Cleaner | Great for deep cleaning fabrics (optional equipment). |
Utilising the right materials can make your job a lot easier.
Brushes are indispensable for loosening dirt embedded in various surfaces, preparing them for a thorough cleaning. Microfiber cloths come in handy for lint-free cleaning, ensuring that surfaces remain sleek and polished.
Additionally, a Vacuum Cleaner forms a core part of your cleaning arsenal, proficiently removing dust and debris from every nook and cranny. Optionally, a Steam Cleaner can be employed for an intensive deep clean, particularly on fabric materials, revitalizing them to their original charm. With these tools at your disposal, a professional level of cleanliness is within your grasp.
Step-by-Step Guide to a Comprehensive Interior Detail
For those ready to take their car interior from grimey to gleaming, follow this step-by-step guide for a comprehensive cleaning that leaves no nook or cranny untouched.
Step 1: Remove All Personal Items
Before diving into the cleaning process, the first and foremost step is to remove all personal items from your vehicle. This not only includes the obvious, like bags and electronics but also smaller objects that might be hiding in glove compartments, door pockets, or under the seats.
Step 2: Dust and Vacuum
Utilise a soft-bristled brush or a microfiber cloth to remove dust particles from the dashboard, console, and other surfaces.
Once dusting is done, bring out the vacuum cleaner. Begin with the seats, making sure to reach into the crevices where crumbs and debris tend to accumulate. Proceed to vacuum the carpets and floor mats, removing them if necessary to clean underneath. For hard-to-reach areas like the spaces between seats, make use of a brush attachment or a crevice tool that usually comes with most vacuum cleaners. This step ensures all the loose dirt and dust are sucked away, paving the way for a detailed cleaning session.
Step 3: Clean the Surfaces
With a dust-free interior, you’re now set to start the deep cleaning process focusing on different materials present in your car’s interior:
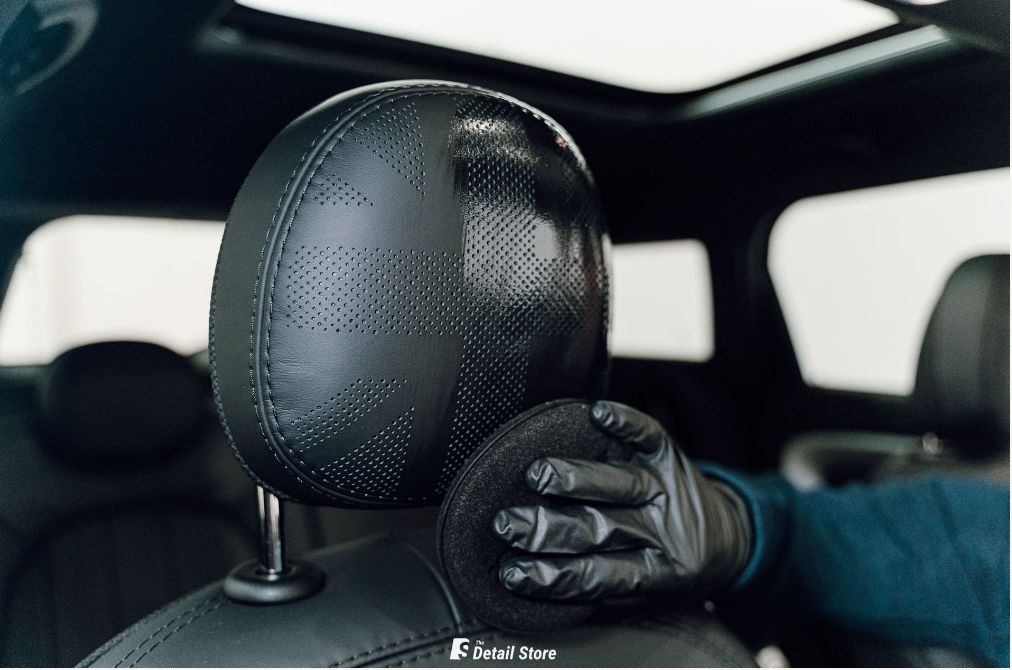
Leather: Treat the luxurious leather surfaces in your car with the respect they deserve. Use a pH-neutral leather cleaner to gently clean the surfaces without causing any harm. After cleaning, apply a nourishing conditioner to replenish the natural oils and maintain its soft, supple texture. Remember to use a soft, lint-free cloth for application.
Fabric: Fabric surfaces like seats and carpets can harbour stains and odours. Use a high-quality fabric cleaner to tackle stubborn stains. For a thorough clean, you might consider a fabric guard to protect against future spills and stains.
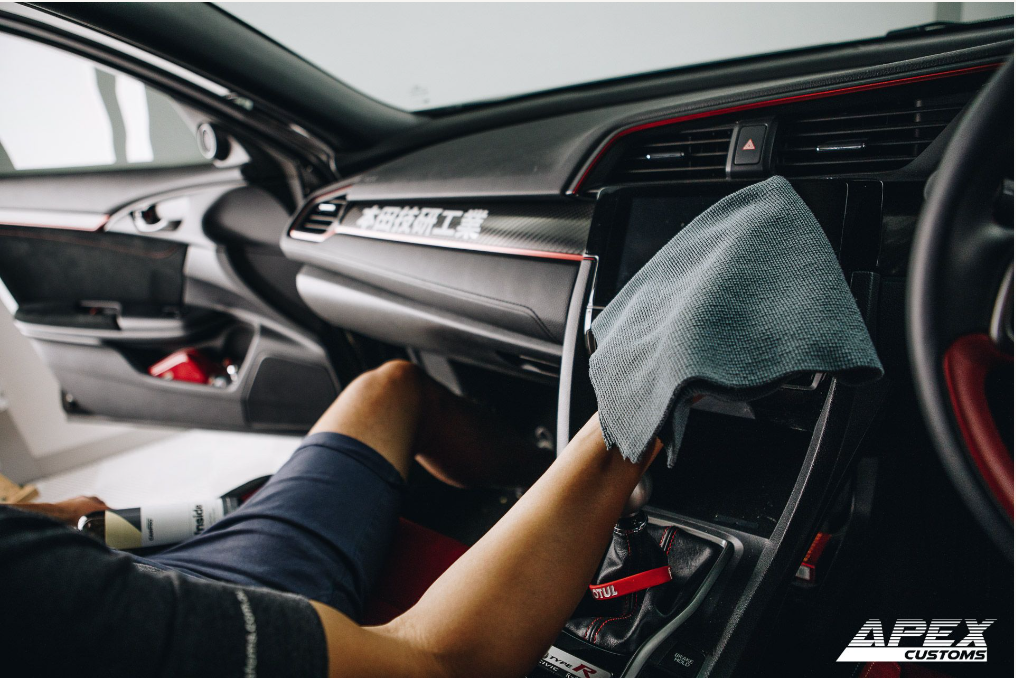
Plastics and Vinyl: Plastics and vinyl are usually found on the dashboard, centre console, and door interiors. Apply a dedicated cleaner to remove fingerprints and grime, and bring back the original shine. A protectant can be used afterwards to shield against UV rays and prevent cracking.
Glass: Achieve clear and streak-free windows and windshield by using a good quality glass cleaner. Spray the cleaner onto a microfiber cloth to avoid overspray onto other surfaces. Always use a clean cloth to prevent streaks and achieve a sparkling finish. Remember, clear glass not only looks good but also ensures safe driving by providing unobstructed visibility.
Hope this provides a more detailed insight into each step! Let me know if you need more adjustments.
Step 4: Detailing
After cleaning, it’s time for detailing:
| Area to Detail | Process | Tips |
| Seats | Inspect seams and crevices for accumulated dirt. | Use a soft-bristle brush for efficient cleaning. |
| For fabric seats, consider using a fabric guard for added protection. | Leather seats benefit from a conditioner for a lush finish. | |
| Dashboard & Center Console | Wipe down with a suitable cleaner. | Utilise a microfiber cloth to prevent scratches. |
| Dust the air vents using a soft brush or canned air. | Attend to the knobs, buttons, and screens with care. | |
| Door Panels & Pockets | Clean the panels and pockets to remove grime build-up. | Don’t overlook the handles and window controls. |
| Attend areas around the speakers and other crevices with a detailing brush. | A small vacuum attachment can get into tight spaces. |
Step 5: Deodorizing
Once the car is clean, use an air freshener or a deodorizer to leave your car smelling fresh.
Step 6: Final Touches
Finish off with the final touches:
Floor Mats: If you have removable floor mats, clean them separately and place them back once dry.
Trash Bin: Consider keeping a small trash bin in the car to avoid clutter and maintain cleanliness.
Step 7: Maintenance
To keep your car looking pristine, set up a regular cleaning schedule and stick to it. It will prevent dirt buildup and maintain a fresh environment in your car.
Conclusion
By now, you’re equipped with the knowledge and tips to keep your car’s interior spotless and fresh. Regular maintenance not only preserves the aesthetics but also the resale value of your car.
All that’s left is to roll up your sleeves and give your car the pampering it deserves!
FAQs
1. How often should I clean my car’s interior?
It depends on usage, but a general guideline would be a quick clean every week and a detailed clean every month.
2. Can I use household products for interior detailing?
While some household products can be used, it’s always better to use products specifically designed for car detailing to get the most out of your detailing and to protect your car’s materials.
3. How can I protect my car’s interior from damage and stains?
Regular cleaning, using protective sprays, and avoiding eating or smoking in the car can prevent stains and damage.
4. What are some home remedies for removing stubborn stains?
A mixture of vinegar and baking soda can be effective for removing some stubborn stains from upholstery. Whatever you do, always remember to do a test spot first. For tougher stains, you may need to use products specifically designed for car detailing.
5. How to maintain a fresh scent in the car?
Regular cleaning and using mild air fresheners can help maintain a fresh scent in the car. Also, consider using natural deodorisers like baking soda to absorb unpleasant smells.